Metal putty filler is a revolutionary solution that can transform the look and feel of your metal surfaces with ease. Whether you have dings, dents, or scratches on your metal objects, this incredible product can work wonders to restore them to their original glory. With its exceptional ability to bond with metal, metal putty filler is a game-changer in the world of repairs and renovations.
One of the key benefits of metal putty filler is its versatility. It can be used on a wide range of metal surfaces, including steel, aluminum, iron, and more. This means that whether you have a damaged car bumper, a rusty garden tool, or a scratched appliance, metal putty filler can come to the rescue. Its ability to adhere to various metals ensures a strong and durable repair that will stand the test of time.
Not only does metal putty filler provide a reliable fix for damaged metal surfaces, but it also offers a smooth and seamless finish that is virtually indistinguishable from the original material. The putty can be easily molded to match the contours of the object, allowing for precise repairs without any noticeable traces. Once cured, the filler can be sanded, painted, or polished to further enhance the appearance, resulting in a flawless and professional finish.
In conclusion, metal putty filler is a remarkable product that has the power to transform your metal surfaces. Its versatility, durability, and ability to achieve seamless repairs make it a must-have for any DIY enthusiast or professional repair person. Next time you encounter a damaged metal object, remember the power of metal putty filler, and unleash its transformative effects with confidence.
Benefits of Metal Putty Filler
Metal putty filler offers numerous benefits that can transform your metal surfaces. With its unique composition and powerful properties, metal putty filler provides a reliable solution for repairing and restoring metal objects. Whether you are working on a small DIY project or tackling a larger industrial task, metal putty filler can make a significant difference.
First and foremost, metal putty filler is incredibly versatile. It can be used on a wide range of metal surfaces, including steel, iron, aluminum, and more. This versatility allows you to use it for various applications, from fixing dents and scratches to filling gaps and holes. Whether you are dealing with automotive parts, household appliances, or machinery, metal putty filler can effectively address your repair needs.
Another key benefit of metal putty filler is its exceptional adhesive properties. Once applied to the surface, the filler forms a strong bond that ensures long-lasting results. It adheres firmly to the metal, providing a durable and reliable solution. This adhesive strength not only helps to repair damaged areas but also helps to reinforce weak spots and prevent future damage.
Lastly, metal putty filler offers excellent resistance to various environmental factors. It is specifically designed to withstand harsh conditions, such as extreme temperatures, moisture, chemicals, and UV rays. This makes it perfect for both indoor and outdoor applications, ensuring that your metal surfaces stay protected and maintain their integrity over time.
In conclusion, metal putty filler offers a multitude of benefits for transforming your metal surfaces. Its versatility, adhesive properties, and resistance to environmental factors make it a reliable choice for repairing and restoring various metal objects. So, whether you are a DIY enthusiast or a professional, consider the power of metal putty filler to enhance the appearance and functionality of your metal surfaces.
How to Apply Metal Putty Filler
To effectively transform your metal surfaces, it is crucial to apply metal putty filler correctly. Here are a few simple steps to guide you through the application process:
-
Prepare the Surface: Before applying the metal putty filler, ensure that the surface is clean and free from any dirt, dust, or grease. Use a mild detergent or metal cleaner to thoroughly clean the surface. Once cleaned, dry the surface completely.
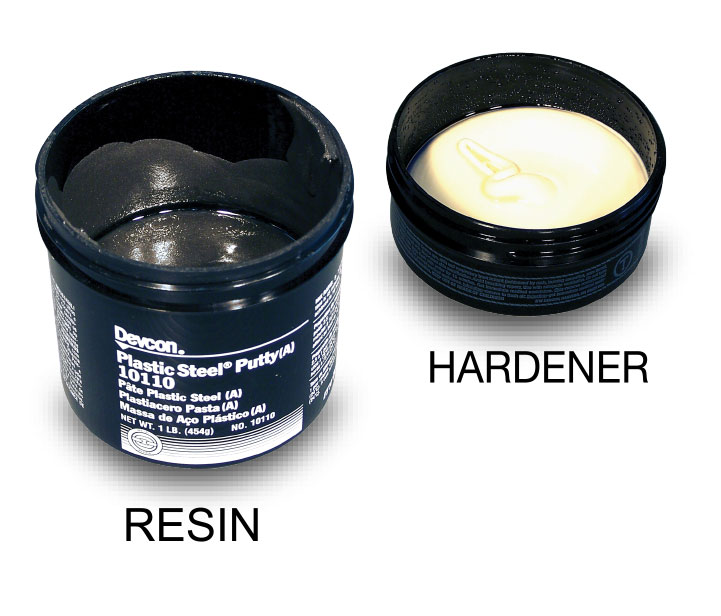
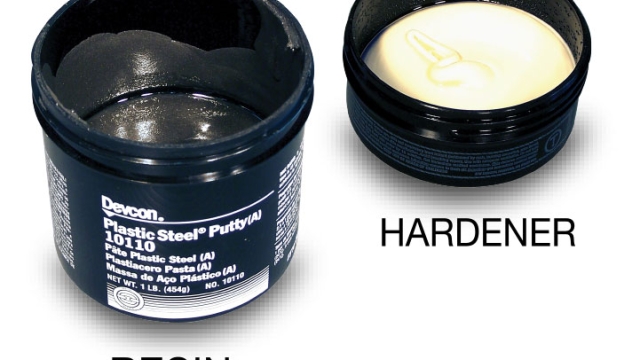
Apply the Filler: Open the metal putty filler container and take a small amount using a putty knife or spatula. Start applying the filler to the damaged or uneven areas of the metal surface. Use smooth strokes to spread the filler evenly across the surface.
-
Smooth and Shape: After applying the filler, use a putty knife or your fingers to smooth and shape the putty. Ensure that the putty is level with the surrounding metal surface. You can also wet your fingers slightly to achieve a smoother finish.
Remember to work quickly as the putty filler tends to dry and harden fast. Once you have achieved the desired shape and smoothness, allow the metal putty filler to cure as per the manufacturer’s instructions.
By following these simple steps, you can effectively apply metal putty filler and transform your metal surfaces, making them look as good as new.
Tips for Achieving a Professional Finish
-
Preparation is Key
Before applying metal putty or metal putty filler, it is crucial to prepare the surface properly. Start by cleaning the metal surface thoroughly to remove any dirt, grease, or rust. Use a suitable cleaner and a soft cloth to ensure a clean and smooth surface. Additionally, make sure to sand the area that needs repair gently. This helps to create a better bond between the metal putty filler and the surface, resulting in a more professional finish. -
Apply in Thin Layers
When working with metal putty or metal putty filler, it is essential to apply it in thin layers. This ensures better control and allows for easier shaping and sanding later on. Begin by applying a thin layer of the filler onto the prepared surface using a putty knife or a similar tool. Spread it evenly, covering the damaged or uneven area. Let each layer dry completely before applying the next one. Building up thin layers gradually will help to achieve a smoother and more natural-looking finish. -
Sand and Polish for a Flawless Look
Once the final layer of metal putty filler has dried completely, it’s time to sand and polish the surface for a flawless finish. Use fine-grit sandpaper to gently sand the filled area, blending it smoothly with the surrounding surface. Take your time and ensure that the transition from the filler to the original metal is seamless. After sanding, wipe away any dust particles with a soft cloth. Finally, you can polish the repaired area with a metal polish product to bring out its shine and achieve a professional, finished look.
By following these tips, you can enhance your metal surfaces using metal putty filler, and achieve a professional finish that is both durable and aesthetically pleasing. Remember, proper preparation, applying thin layers, and careful sanding and polishing are key to transforming your metal surfaces with the power of metal putty filler.